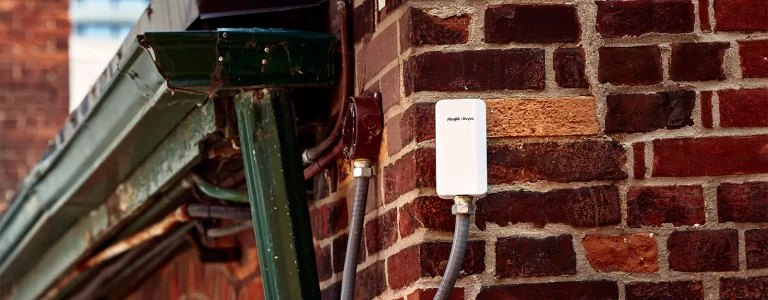
This article assumes you’ve already know how to install a wireless AP and mount it on the ceiling. We’re going to skip ahead to the setup and configuration, including:
- How to find the Reyee AP in your network
- How to setup the SSID and Wi-Fi password
- Configure WAP2-PSK/WPA3-SAE for enhanced security
Two Methods for AP Setup
There are two ways you can setup a Reyee wireless access point.
- Using your smartphone
- Using a laptop or computer
Using a smartphone is the easiest way to configure the AP, but it also requires you to sign up for a Ruijie Cloud account using your email address.
If you want a little more privacy, you can configure the Wireless AP by logging in directly from your computer or laptop. However, there are a few more steps involved and should only be attempted if you have a basic understanding of computer networking.
Method 1: Configure Reyee AP Using Your Smartphone
First, download the Reyee Ruijie app from the Google Play Store or iOS App Store. When you open the app, it will ask you for location services. Make sure you choose “Allow while using the app” otherwise you won’t be add devices!
Step 1 – Download Ruijie Reyee App
Next, click the blue +Add a Project button in the middle. If it’s your first time using the app, it will prompt you to login to your Ruijie Cloud account. Since you probably don’t have an account yet, click the “Create Account” button to sign up for one.
After creating an account and logging in, you can click the +Add a Project to start adding your device. Follow the steps on the screen, and eventually you’ll need to connect to the Wi-Fi starting with @Rujie-s.
Step 2 – Add a project & connect to @Ruijie Wi-Fi
After connecting to the access point’s Wi-Fi, you’ll be able to set a project name and management password on the device. The management password allows you to login to the device at a later time through it’s IP address; the default password is admin but you are forced to change it.
Once you’ve set the management password, you’ll be prompted to create an SSID/Wi-Fi Name. You should also change the Encryption Mode to Encrypt so that you can set a Wi-Fi password. If possible, set the Encryption Type to WPA2-PSK/WPA3-SAE. This allows new devices to connect over WPA3 (more secure protocol) while still remaining backwards compatible for older equipment.
Step 3 – Setup Wi-Fi SSID & encryption type
When you’ve finished configuring the Wi-Fi SSID and password, the AP will reboot. When it’s finished rebooting (1-2 mins) you can go ahead and connect to your new Wi-Fi with all your devices.
You can do a speed test to confirm everything is working properly. If your internet is fast enough, you should easily get ~350 Mbps when connected to the Wi-Fi.
If you’d like to make further adjustments, you can manage your device(s) through the Ruijie Reyee app.
Step 4 – Peform a speedtest to verify it's working
Method 2: Configure Reyee AP Using a Laptop or Desktop PC
If you prefer using your computer or laptop to configure all the settings, there’s good news. The entire setup process can be done from a computer without needing to sign up for a Ruijie Cloud account.
We need to find the access point’s IP address and log in to it through a web browser. I’ll show you the easiest way to do that.
To start, download Angry IP Scanner (network scanning tool) and open it up. Perform a network search by clicking “Start” and wait a few moments for the scan to complete. When the scan is done, look for the MAC address that corresponds with the label on your access point.
In Angry IP Scanner, you’ll see a MAC address and an IP address in the same row. Enter the IP address you see here – 10.0.0.166 in my example – into your web browser’s search bar. This will bring you to the AP’s login screen.
Step 1 – Find IP address of Reyee Wi-Fi AP
Once you see the web interface, login with the default password ‘admin’. Then, click Start Setup at the bottom to begin configuring the AP. If you cannot find this page, make sure the AP is connected to your network and try again.
Step 2 – Login to AP Web Interface + Start Setup
Now, you can enter your Wi-Fi SSID. Make sure you set Encryption to Security so that you can configure a Wi-Fi password, rather than leaving it open. And if possible, set the Security Type to WPA2-PSK/WPA3-SAE – since this is a stronger wireless encryption protocol.
If you don’t see the option for WPA3-SAE, it’s because your AP is not updated to the latest firmware. You can continue with the setup and change this setting later.
Step 3 – Configure Wi-Fi SSID and Password from Web Interface
As a reminder, the management password is what allows you to login to the device from the web interface. It’s set to ‘admin’ by default, but you are forced to change it during setup. If you forget the password, you can factory reset the access point by holding the reset button for 15 seconds.
Once you’ve completed these steps in the web interface, the Reyee AP will reboot. It takes ~1-2 minutes, and then you can connect to the new Wi-Fi.
Final Thoughts
Hopefully this tutorial helped you to configure your Reyee access point. If you’d like to purchase Reyee Equipment in Canada, please fill out our Dealer Application Form (pdf) and email it to info@xlrsecurity.com.
XLR Security is a distributor in Toronto specializing in Uniview Cameras & Reyee Networking Equipment. You can contact us through email or phone if you have any questions.


